The deadlift is the simplest heavy lift there is: pick a loaded bar up off the floor and stand tall. It trains your glutes, hamstrings, back and grip all at once, and it is also the lift people worry about most. The difference between a deadlift that builds you up and one that beats you up is almost always the setup.
This guide helps you choose the right variation, then walks through the setup, the hip hinge, bracing, the lockout, back safety and the mistakes to avoid.
- Sets
- 2–4
- Reps
- 3–6
- Rest
- 180 s
Conventional, sumo or Romanian: which deadlift?
All deadlift variations share the same hip hinge, but they differ in stance and in where the bar starts.
- Conventional: feet about hip-width apart, hands just outside your legs. It's the classic version and the one most people should learn first.
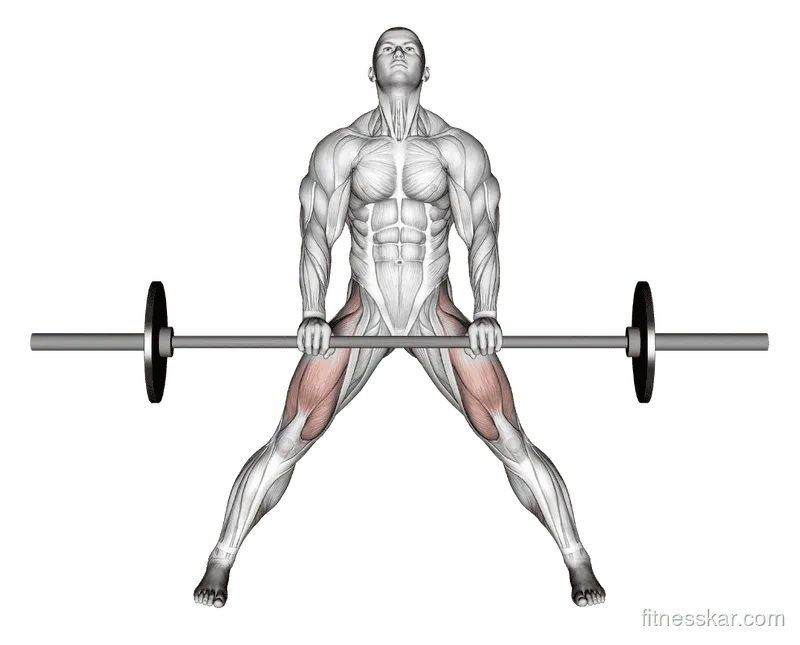
- Sumo: a wide stance with your toes turned out and your hands inside your knees. In a 3D analysis of national-level powerlifters, sumo lifters stood more than twice as wide (about 70 vs. 32 cm), turned their feet out more (42 vs. 14 degrees) and kept their trunk 5–10 degrees more upright, while the conventional lifters moved the bar about 25–40% farther and did more mechanical work.[1] In a separate analysis of competitive lifters, sumo pulling came with about a 10% lower load (joint moment) and an 8% lower shear force at the lower back than conventional pulling.[2]
- Romanian (RDL): starts from the top, with your knees softly bent and fixed, and lowers the bar only as far as your hamstrings and back position allow. It works best as an accessory, not a max-effort lift. In one study using the same load for both lifts, the conventional deadlift produced more activity in the glutes and in the rectus femoris, one of the quadriceps, than the Romanian deadlift.[3]
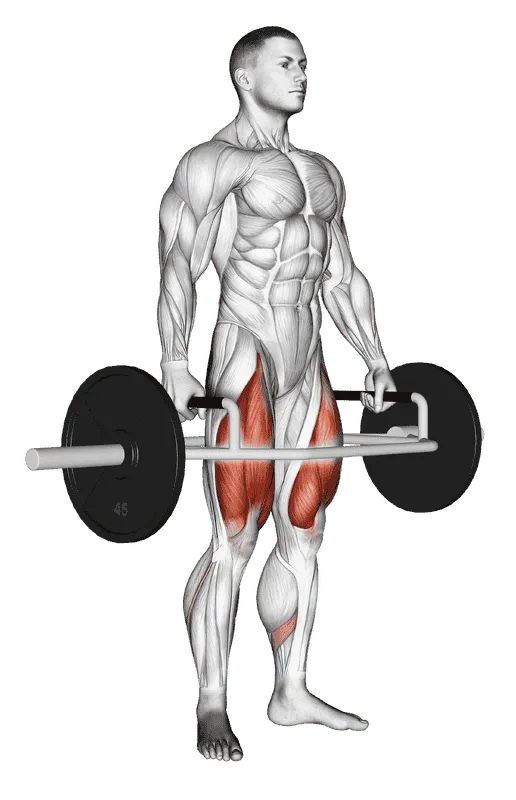
There is also a fourth option: the trap bar (hex bar) deadlift, where you stand inside the frame. Powerlifters lifted about 8% more with it (265 vs. 245 kg on average) and produced more force and power at submaximal loads. The trap bar also lowered peak loading at the lower back, hips and ankles while increasing it at the knees.[4] That makes it an excellent first deadlift and a back-friendly alternative for anyone.
| Variation | Stance and grip | Movement | Good for |
|---|---|---|---|
| Conventional | Hip-width, hands outside the legs | Hips and knees extend together from the floor | Learning the lift and building overall strength |
| Sumo | Wide, toes out, hands inside the knees | More upright trunk, shorter bar path | Lifters who can't reach the bar with a neutral back in a narrow stance |
| Romanian | Hip-width, starts from the top | Hip hinge with the hamstrings under stretch | Accessory work and learning the hinge |
| Trap bar | Inside the frame, neutral grip | More knee bend, less lower-back demand | Beginners, athletes and back-friendly strength work |
The rest of this guide describes the conventional deadlift. The same principles apply to every variation.
How to set up: six steps
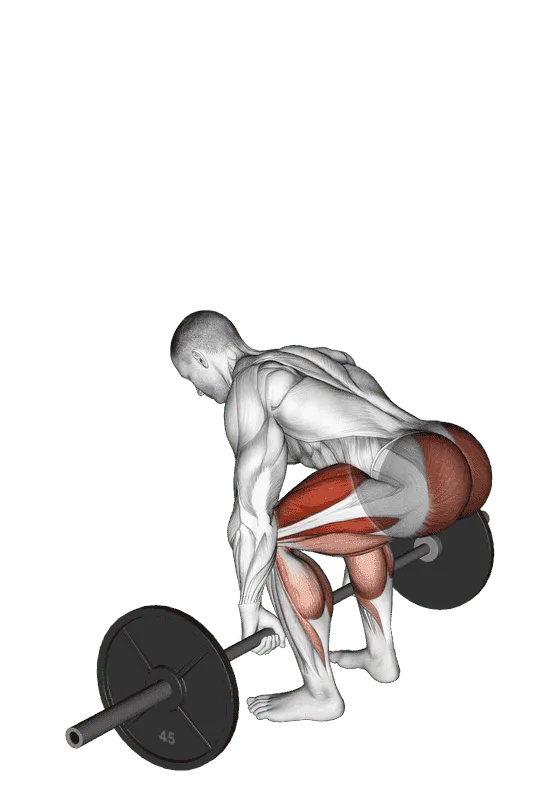
- Bar over midfoot. Stand with your feet about hip-width apart, toes forward or slightly out, and the bar over the middle of your feet, roughly 2–3 cm from your shins.
- Hinge down and grip. Push your hips back and bend your knees just enough to grab the bar with your hands just outside your legs.
- Shins to the bar. Bend your knees until your shins touch the bar. Don't roll the bar toward you; bring yourself to the bar.
- Set your back. Lift your chest, squeeze the bar and pull your shoulders down so your lats tighten, as if you were trying to protect your armpits. Your spine should be long and neutral, your shoulders slightly in front of the bar, and your hips higher than your knees but lower than your shoulders.
- Brace. Take a big breath into your belly and tighten your trunk as if someone were about to poke you in the stomach.
- Pull the slack out. Pull up gently until the bar clicks against the plates and your whole body is tight, then push the floor away.
The hinge: hips and shoulders rise together
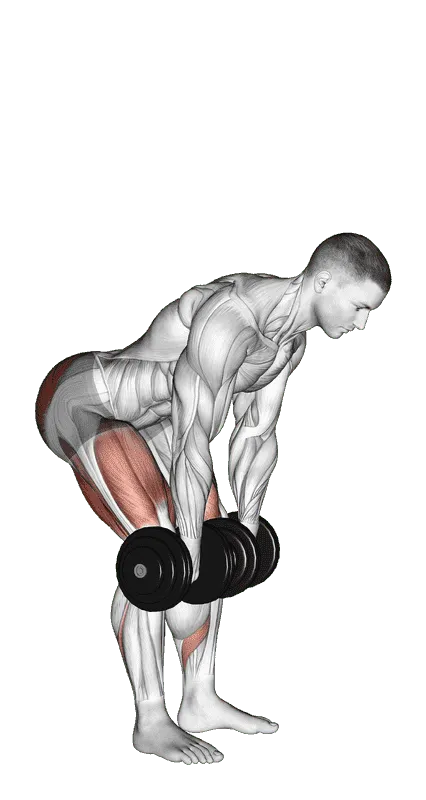
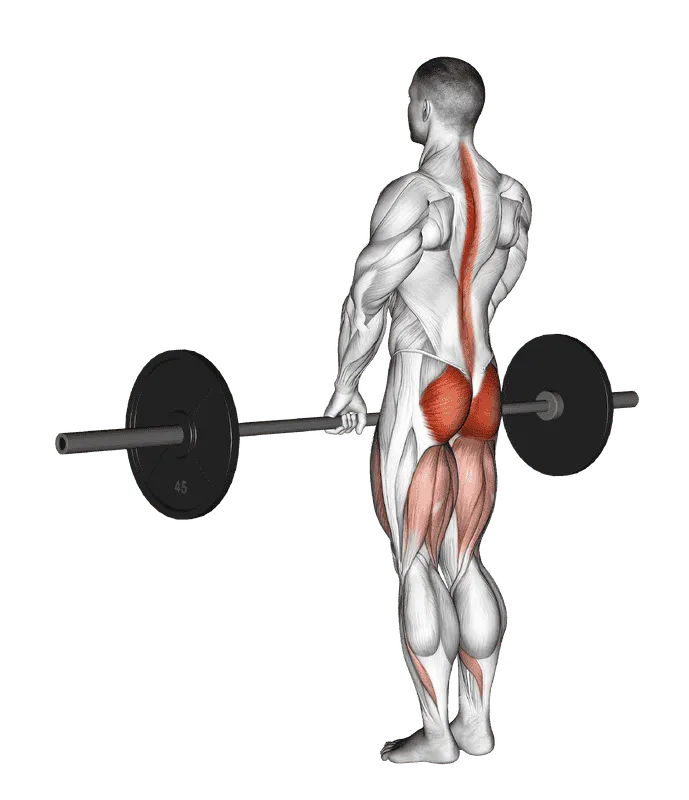
As the bar leaves the floor, your hips and shoulders should rise at the same rate, so your back angle stays roughly the same until the bar passes your knees. Keep the bar close enough to brush your shins and thighs; every centimeter it drifts forward makes the lift harder on your back. Once the bar passes your knees, drive your hips forward to meet it.
If the hinge feels foreign, practice the dumbbell Romanian deadlift: push your hips back toward a wall behind you while your spine stays neutral and your knees stay softly bent. That hip hinge is the pattern the whole deadlift is built on.
Bracing and the lifting belt
Before each rep, breathe in, brace your trunk, and hold that breath until the bar passes your knees or the rep is finished. This brief breath-hold, a form of the Valsalva maneuver, raises the pressure inside your abdomen and is practically unavoidable with heavy loads (above roughly 80% of your maximum). It also raises your blood pressure while you strain.[5] If you have high blood pressure or a heart condition, talk to your doctor before training with maximal, breath-held efforts.
A lifting belt gives your abdomen something to brace against. In a study of lifters deadlifting 90% of their maximum, intra-abdominal pressure rose earlier and peaked higher when they wore a belt.[6] A belt is optional, though. Learn to brace without one on lighter sets, then use it for your heaviest work if you like.
The lockout and the way down
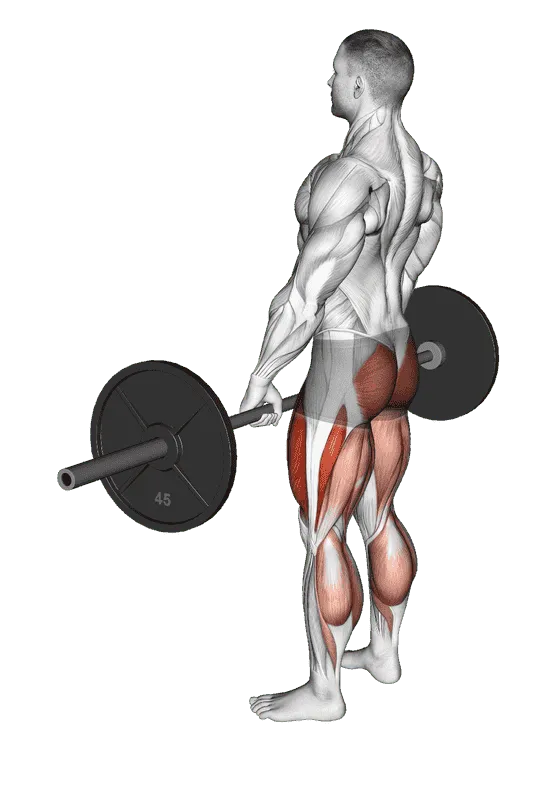
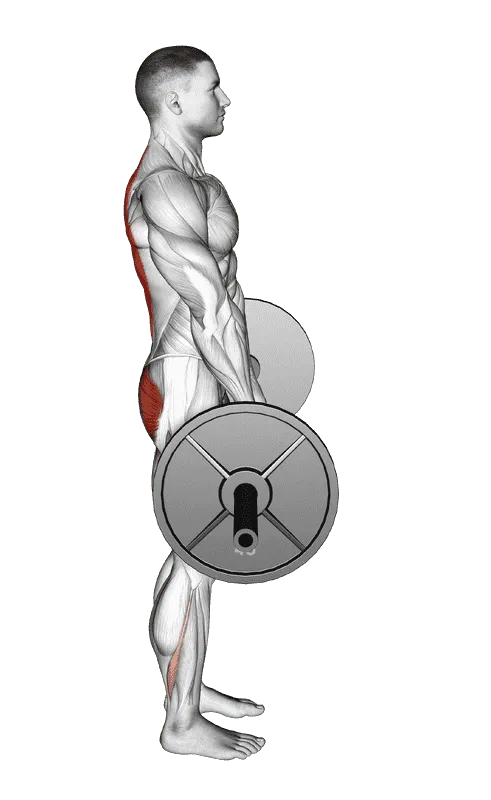
Finish by standing tall: hips and knees straight, glutes squeezed, shoulders stacked over your hips. There's no need to lean back or shrug at the top; overextending your lower back adds stress without adding anything to the lift.
To lower the bar, reverse the pattern: push your hips back first, keep the bar close, and bend your knees once the bar passes them. You don't need to lower it slowly, but don't just drop it either. As a beginner, let the bar settle on the floor and reset your grip, breath and back position before every rep instead of bouncing reps off the floor.
Keeping your back safe
The deadlift has a worse reputation than it deserves. A systematic review found 1.0–4.4 injuries per 1,000 hours of powerlifting training, similar to other non-contact sports that demand strength and power and low compared with contact sports; the spine, shoulders and knees were the most common injury sites.[7] The same review found that the causes of these injuries have barely been studied, so the sensible approach is to keep the load within what your technique can handle and to end a set before fatigue changes your form.
- Keep your lower back neutral. Your upper back may round slightly on very heavy pulls, but your lower back shouldn't flex as the bar leaves the floor.
- Add weight gradually, and leave one or two reps in reserve on most sets.
- End the set the moment your back position changes.
- If you have back pain that travels down a leg, numbness or weakness, or pain that doesn't settle within a few days, see a doctor or physical therapist before you deadlift again.
Common deadlift mistakes
| Mistake | What happens | Fix |
|---|---|---|
| Bar too far from your shins | The bar swings forward and your back works harder | Start with the bar over midfoot and drag it up your legs |
| Hips too low | You squat the bar, your knees get in its way, and your hips shoot up first | Set your hips between your knees and shoulders, shins touching the bar |
| Hips rising first | The lift turns into a stiff-leg deadlift | Push the floor away with your legs and keep your chest up |
| Jerking the bar | You lose tightness and position | Pull the slack out before the bar leaves the floor |
| Lower back rounding | The load shifts onto your spine | Brace harder, reduce the weight and practice the hinge |
| Leaning back at the top | Overextends your lower back | Finish tall with your glutes squeezed |
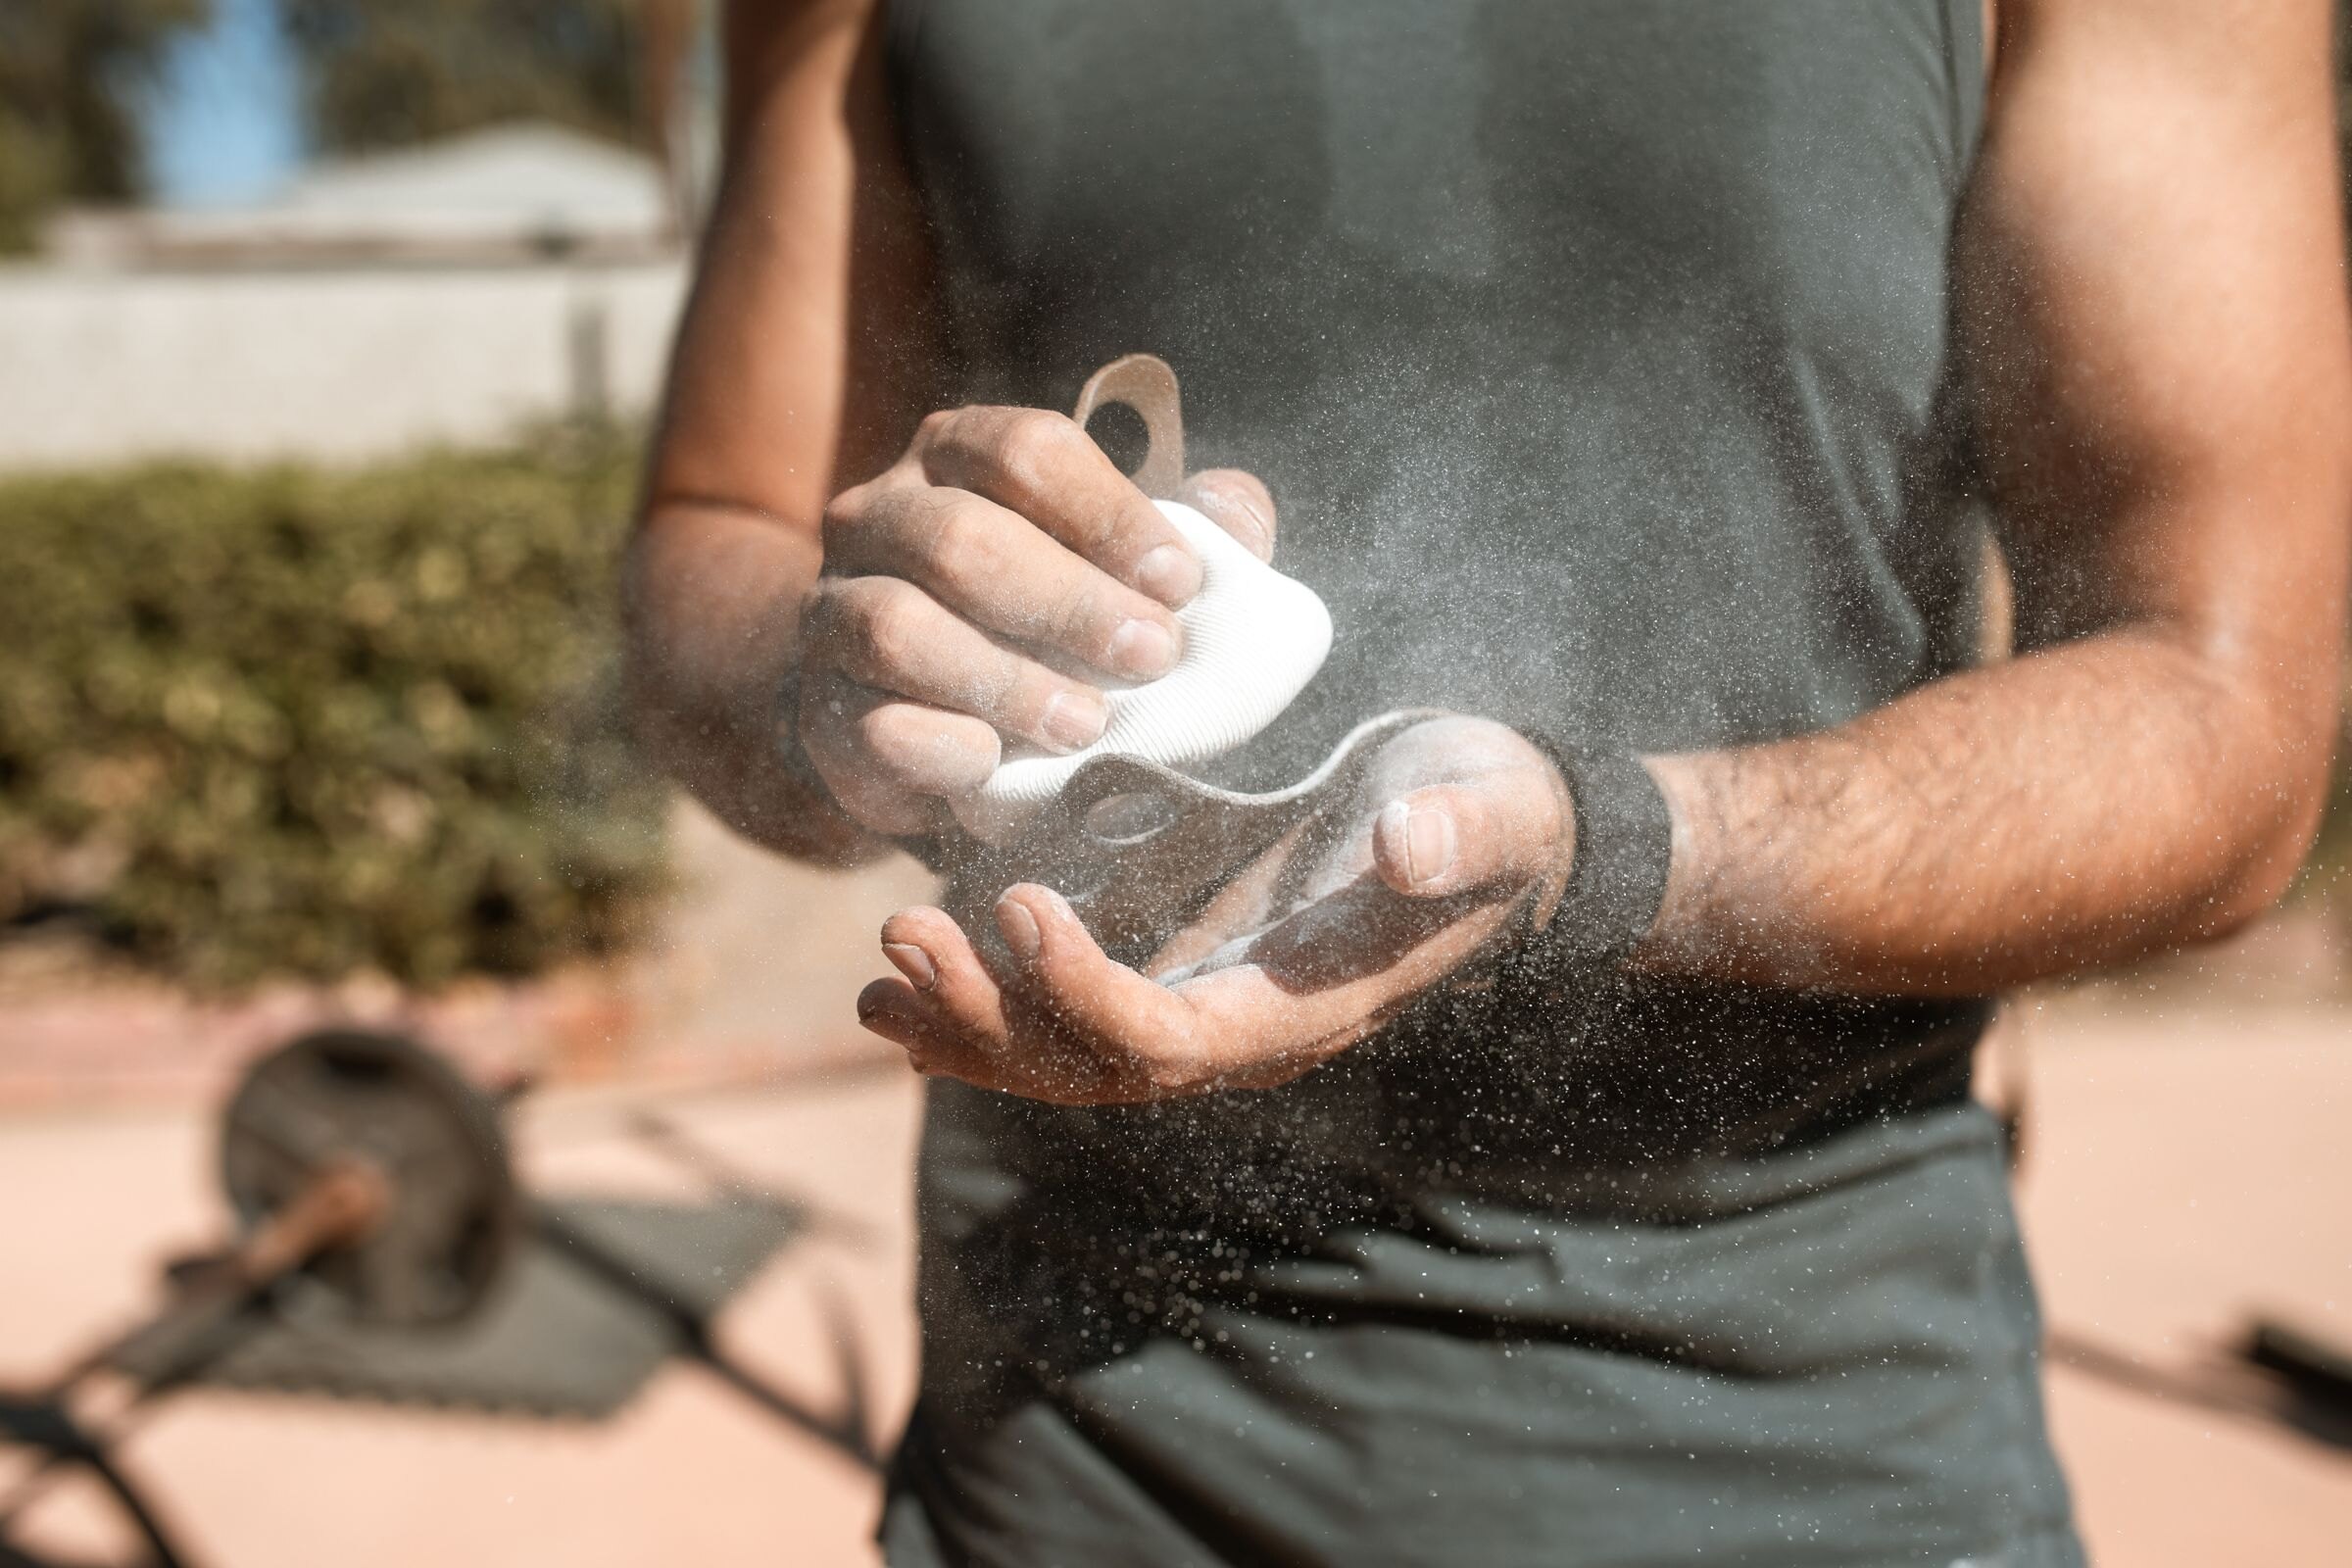
| Grip giving out | The bar slips and the set ends early | Use chalk, a hook grip or straps on heavy sets |
Grip options
- Double overhand: both palms facing you. Best for learning and for warm-ups, though your grip will fail first as the weight climbs.
- Hook grip: your thumb is trapped under your fingers. Very secure once you get used to the pressure on your thumb.
- Mixed grip: one palm toward you, one away. Secure, but switch which hand faces forward from set to set so you don't train lopsided, and keep the underhand arm completely straight: pulling with that elbow bent puts the biceps tendon at risk of tearing.
- Straps: fine for back-off sets and accessory work when grip strength isn't the goal.
How to program the deadlift
Heavy deadlifts are demanding, so one or two sessions per week is plenty for most people: two to four work sets of three to six reps after a few gradually heavier warm-up sets. Add weight in small steps only when every rep looks like the first one. Use Romanian deadlifts and hip thrusts as accessories, and pair your deadlifts with squats and presses in a balanced plan such as our beginner strength program. To learn the other big lower-body lift, see how to squat, and use our one-rep max guide to set your training loads.
Deadlift variations and accessories
Variations and accessories
-
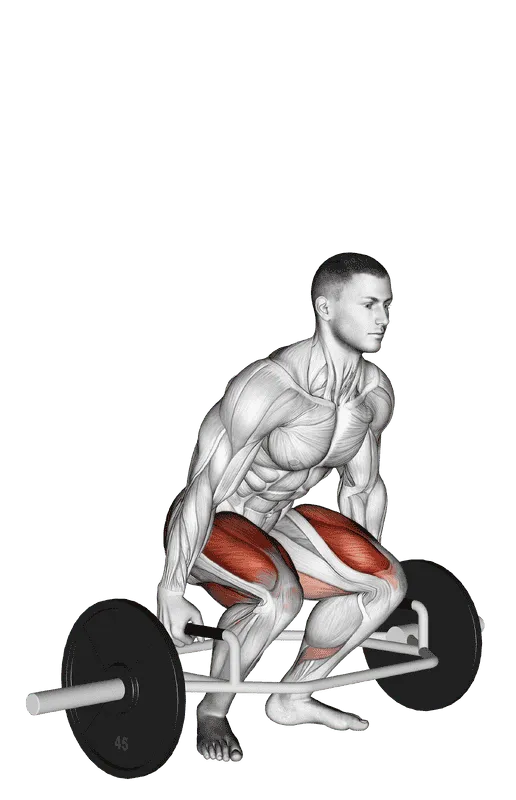
Trap Bar Deadlift - Sets
- 3
- Reps
- 3–6
- Rest
- 180 s
-
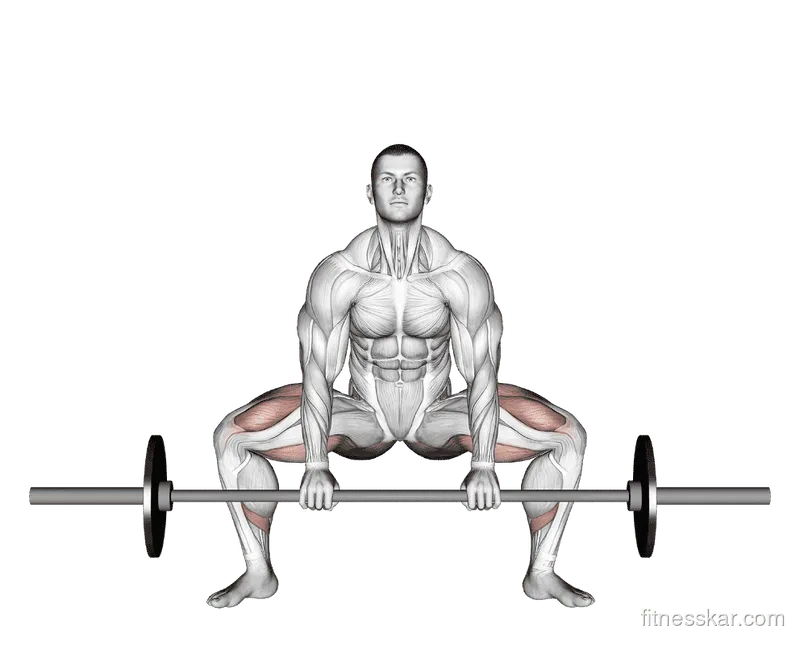
Barbell Sumo Deadlift - Sets
- 3
- Reps
- 3–5
- Rest
- 180 s
-
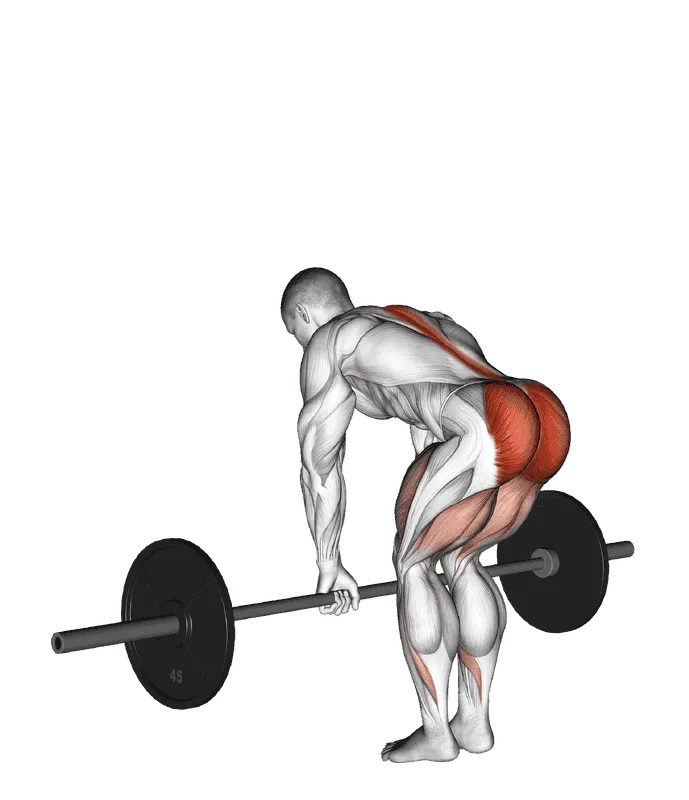
Barbell Romanian Deadlift - Sets
- 3
- Reps
- 6–10
- Rest
- 120 s
-
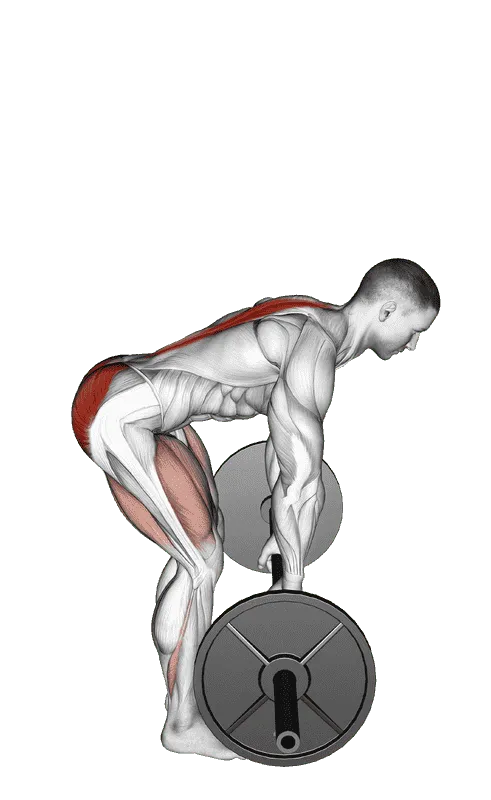
Barbell Rack Pull - Sets
- 3
- Reps
- 3–5
- Rest
- 180 s
-
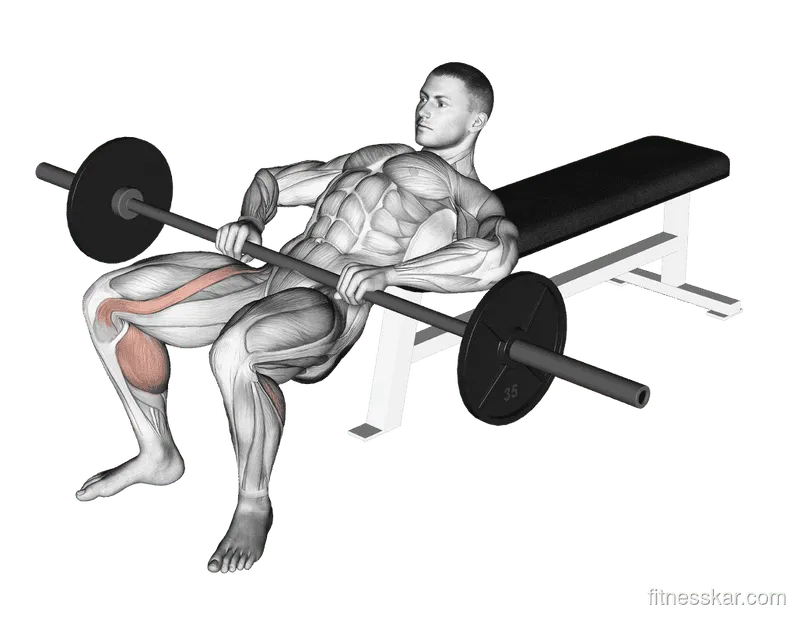
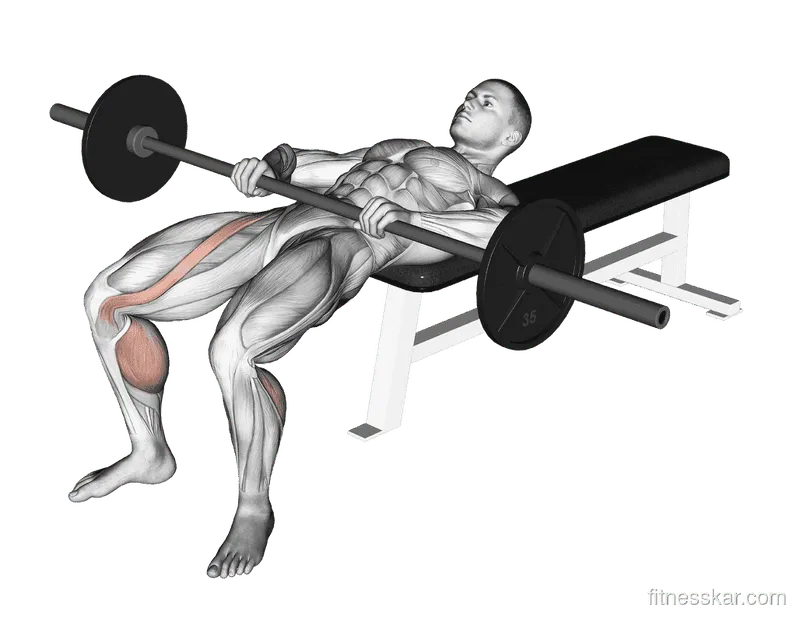
Barbell Hip Thrust - Sets
- 3
- Reps
- 8–12
- Rest
- 90 s
-
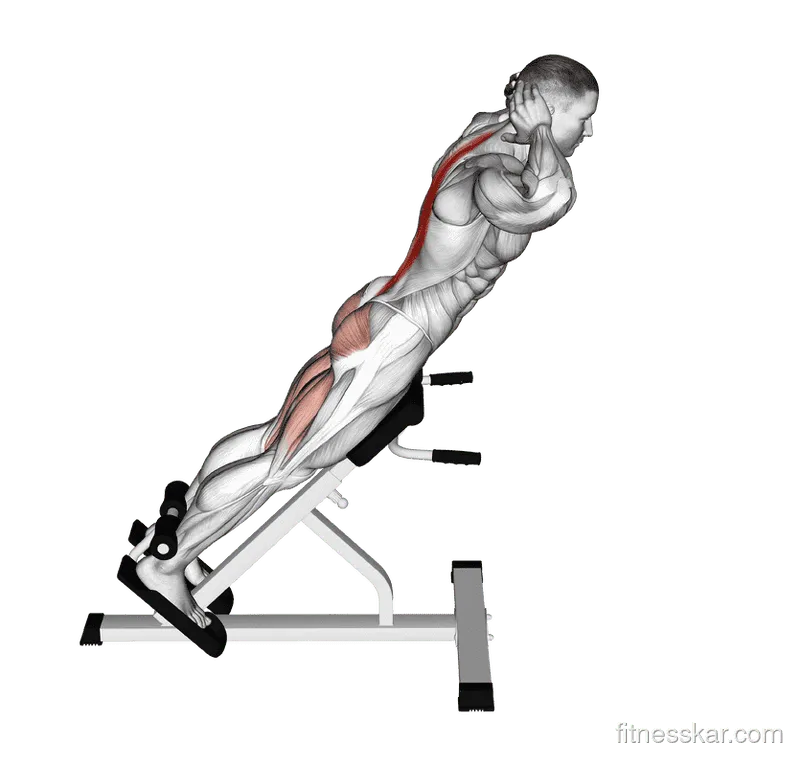
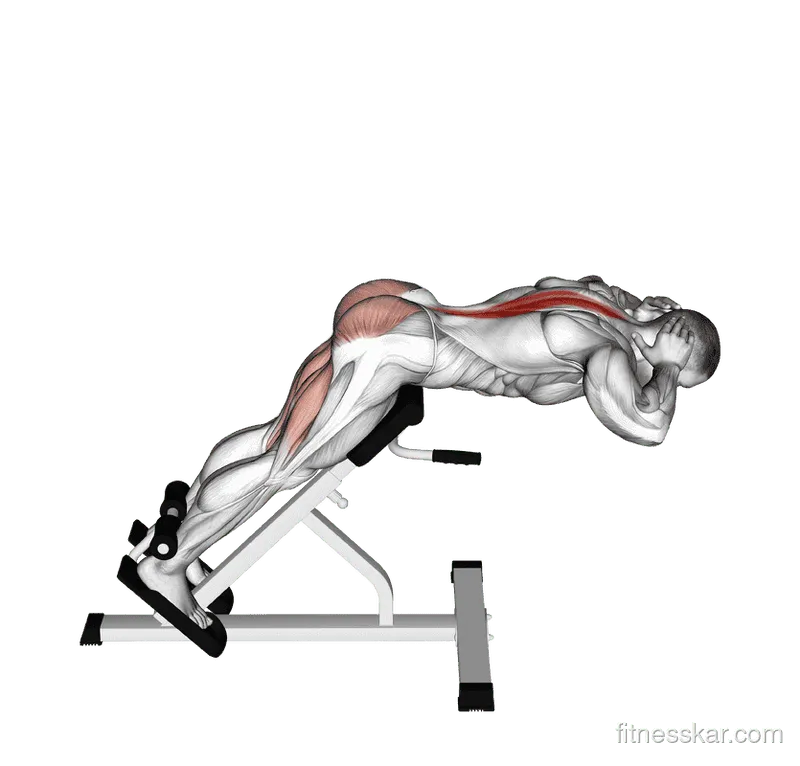
Hyperextension - Sets
- 2–3
- Reps
- 10–15
- Rest
- 60 s
Frequently asked questions
Is the deadlift bad for your back?
Not when you use good technique and sensible loads. Injury rates in powerlifting are similar to other non-contact strength and power sports. To keep your risk low, progress gradually and end each set when your back position changes.
Should I deadlift conventional or sumo?
Both are legitimate. Sumo keeps your torso more upright and shortens the bar path, while conventional is simpler to learn. Try both with moderate weights and pick the one where you can keep a neutral back and a smooth pull.
Do I need a lifting belt?
No. A belt can help you brace harder on heavy sets, but learn to brace without one first and treat the belt as a tool for your heaviest work.
How often should I deadlift?
Once or twice a week is plenty for most lifters. Heavy pulls are fatiguing, so many programs pair one heavier deadlift day with lighter hinge work such as Romanian deadlifts.
Should I reset between reps or do touch-and-go?
Beginners should reset every rep: let the bar settle, brace again and pull. Experienced lifters can use touch-and-go reps, as long as they don't bounce the plates off the floor.
Sources
- Escamilla RF, Francisco AC, Fleisig GS, Barrentine SW, Welch CM, Kayes AV, Speer KP, Andrews JR. A three-dimensional biomechanical analysis of sumo and conventional style deadlifts. Medicine and Science in Sports and Exercise. 2000. pubmed.ncbi.nlm.nih.gov/10912892/ ↩
- Cholewicki J, McGill SM, Norman RW. Lumbar spine loads during the lifting of extremely heavy weights. Medicine and Science in Sports and Exercise. 1991. pubmed.ncbi.nlm.nih.gov/1758295/ ↩
- Lee S, Schultz J, Timgren J, Staelgraeve K, Miller M, Liu Y. An electromyographic and kinetic comparison of conventional and Romanian deadlifts. Journal of Exercise Science and Fitness. 2018. pubmed.ncbi.nlm.nih.gov/30662500/ ↩
- Swinton PA, Stewart A, Agouris I, Keogh JW, Lloyd R. A biomechanical analysis of straight and hexagonal barbell deadlifts using submaximal loads. Journal of Strength and Conditioning Research. 2011. pubmed.ncbi.nlm.nih.gov/21659894/ ↩
- Hackett DA, Chow CM. The Valsalva maneuver: its effect on intra-abdominal pressure and safety issues during resistance exercise. Journal of Strength and Conditioning Research. 2013. pubmed.ncbi.nlm.nih.gov/23222073/ ↩
- Harman EA, Rosenstein RM, Frykman PN, Nigro GA. Effects of a belt on intra-abdominal pressure during weight lifting. Medicine and Science in Sports and Exercise. 1989. pubmed.ncbi.nlm.nih.gov/2709981/ ↩
- Aasa U, Svartholm I, Andersson F, Berglund L. Injuries among weightlifters and powerlifters: a systematic review. British Journal of Sports Medicine. 2017. pubmed.ncbi.nlm.nih.gov/27707741/ ↩